HOW TO START WITH NEWSLETTERS
You’re juggling a lot of balls in the air when you start an email newsletter. You must proofread the copy, create compelling calls to action, design the email to work for multiple inboxes and devices, avoid any spam triggers, and brainstorming clickable subject lines — all while adhering to email law (yes, there is such a thing). Oh, and once you’ve sent your email to your subscribers, you can’t go back and change anything. If you’re sending newsletters, bookmark the steps below in your browser or print it out and keep it next to you. You don’t want to overlook these critical steps. Are you ready to begin? Here are the steps to creating the best email newsletter for your business or personal objectives.
Choose an email newsletter tool.
First and foremost, select an email newsletter tool that fits your budget, goals, and technical abilities. HubSpot provides one of the most effective email marketing tools for sending optimized, well-designed newsletters. It is a component of Marketing Hub, which is marketing automation software for small to medium-sized businesses. The email newsletter tool is simple to use — there’s almost no learning curve, especially if you’ve used drag-and-drop page editors on a content management system before. Even if you’ve never used a drag-and-drop editor, HubSpot’s email marketing tool is simple to use. You can also get started for free. We strongly advise you to begin building your newsletter with HubSpot’s free tool and to demonstrate, we’ll include screenshots as we go.

Figure out your newsletter's goal.
Before you write a single word, make sure you understand the newsletter’s purpose and how it fits into your overall content strategy. (If you already have one, proceed to the next section.)
Is your newsletter intended to increase traffic to your blog? Can it help you generate leads? Obtain more emailaddresses? Send visitors to your website? Or do you want to promote new products and services? Determine your goal and allow the rest of your decisions to flow from it.
You should also make a list of key performance indicators for each of these objectives. Remember that your KPIs should go beyond “how many people opened it,” and should instead be more closely tied to your overall business goals. The open rate of your email can provide insight into the performance of your newsletter, but it should not be the only number you consider each month. Consider the following email marketing metrics.
Choose a template and gather your content.
Once you’ve established a goal for your newsletter, it’s time to select a template and gather content for it. If you’re not familiar with designing emails, I’d recommend looking into pre-made templates — it could save you a lot of heartache in the long run. If you’re using HubSpot, the email tool will include pre-made templates.
You may be able to actively or passively find content in the time between two email sends, depending on how early you set your newsletter’s goal and how frequently you plan to send this newsletter. Active means you’re looking for content that will help you achieve a specific goal. Passive means you’ll come across it by chance while searching for other content, but realize it could fit in nicely.
When I was putting together newsletters, I did a lot of active searching… But if I had been more passive, I could have saved myself a lot of time. Because I knew I needed to send a newsletter every month, bookmarking links throughout the month would have saved me a lot of time. Instead, I usually spent several hours searching for content on my blog by clicking the “Back” button.
It is entirely up to you how you gather content, but great places to look for content include your company’s blog, social media accounts, lead-generation offers, internal newsletters, and training documents.
Personalize your template.
A template is a great place to start, but now it’s time to make it your own. Before writing a copy, use a template to get an idea of how your newsletter will look. That way, you’ll know exactly how much space you have, to promote a piece of content — there are few things more frustrating than cramming a copy into a small space. Your template does not have to be anything fancy. Newsletters with little text and color formatting will also look great. The design should be simple and make it easy for your recipients to read, scan, and click on email elements. This implies that it should be mobile-friendly as well. According to Litmus data, 41.6 percent of people open their email on a mobile device, which is roughly 25% higher than on a desktop. You can begin modifying your template in Marketing Hub by clicking on elements and editing the specifications on the left-hand panel.
Set your email newsletter size.
Unfortunately, when email newsletters are sent to subscribers, they do not automatically resize. But, because everyone opens their email on their preferred device and email service, how do you know what size or resolution they should be?
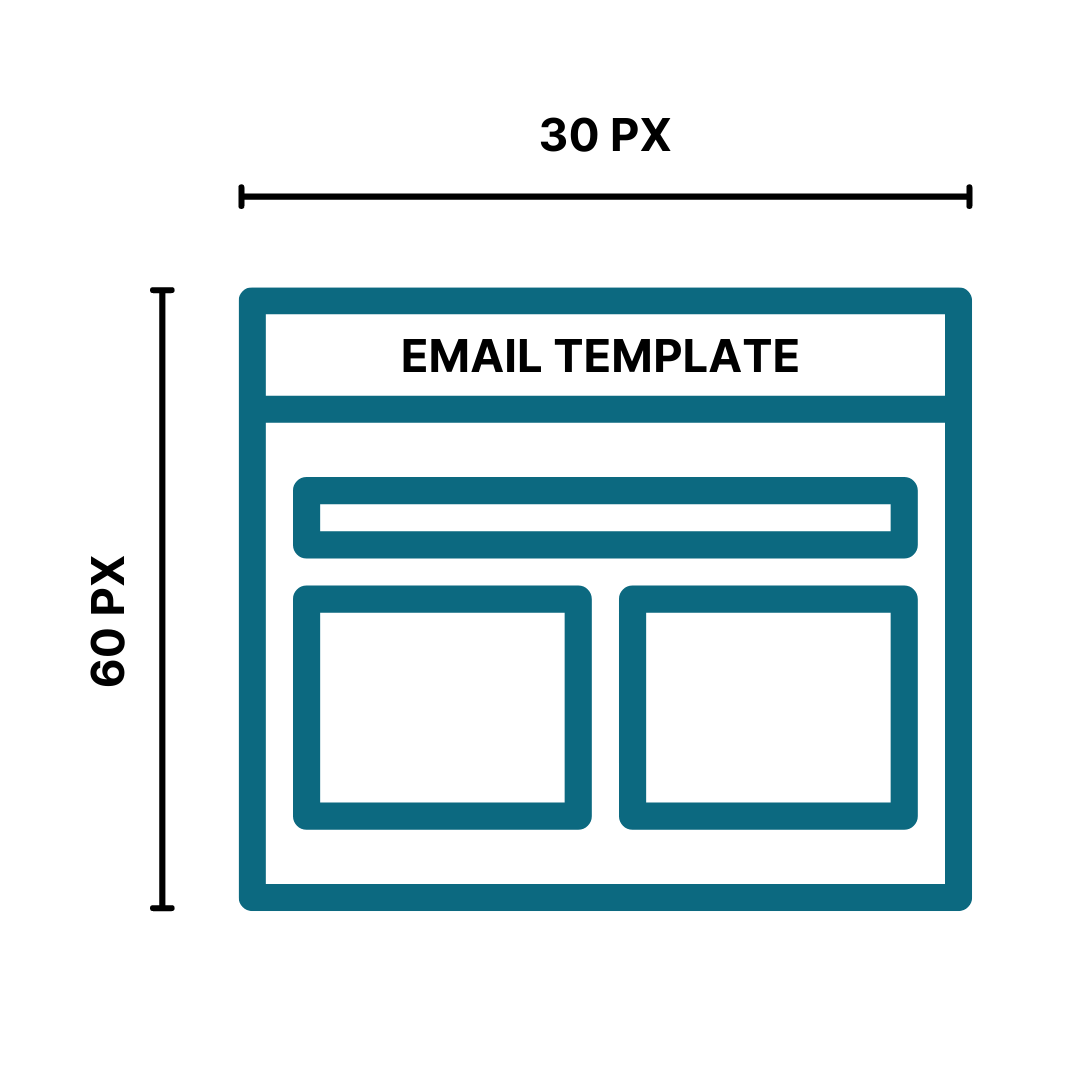
Most providers will set your email newsletter size to 600px wide, with an additional 30px padding on all sides. When this happens, the content of your newsletter may not survive the change. As a result, your newsletter design must fit within that universal 600px width.
What about your height? Finally, your email can be as long (or as short) as you want without the email client distorting its design. People are less likely to click through to your website if the email continues indefinitely — and email clients with sensitive spam filters may notice as well. As a general rule, don’t make your email recipients scroll for more than a second before reaching the bottom.
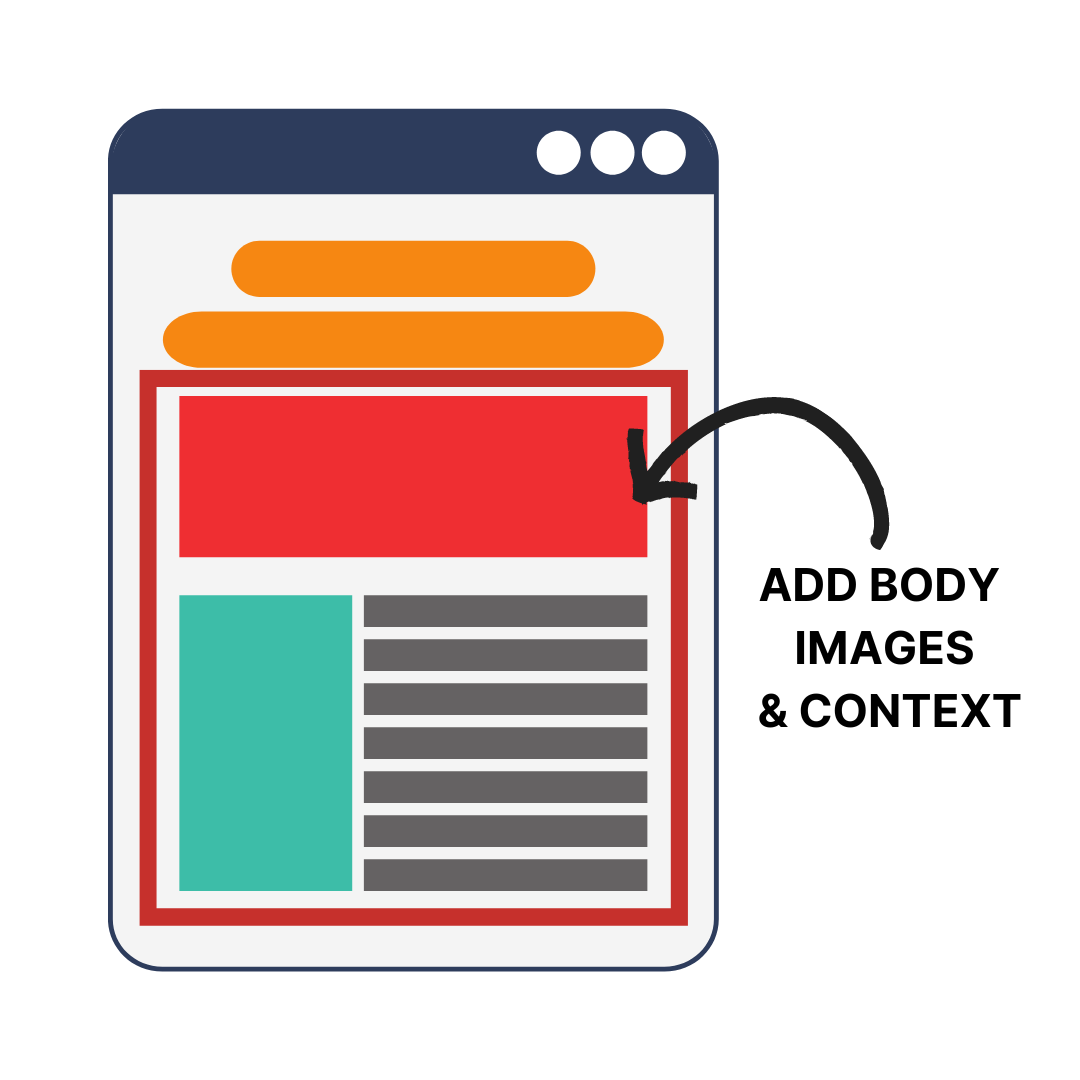
Add in your body content
The template will then be filled in with words and images. Spend time on this because it will be the meat of your email newsletter. To encourage click-throughs, most people keep the copy short and sweet, though some notable newsletters take the opposite approach. If you need help with email newsletter copy, this post can help. Include images if they will aid in supporting your copy.
Don’t forget to thoroughly edit your email — perhaps even send it to one of your teammates for review. Remember that once you’ve sent it, you can’t go back and fix those embarrassing typos like you can with web content.
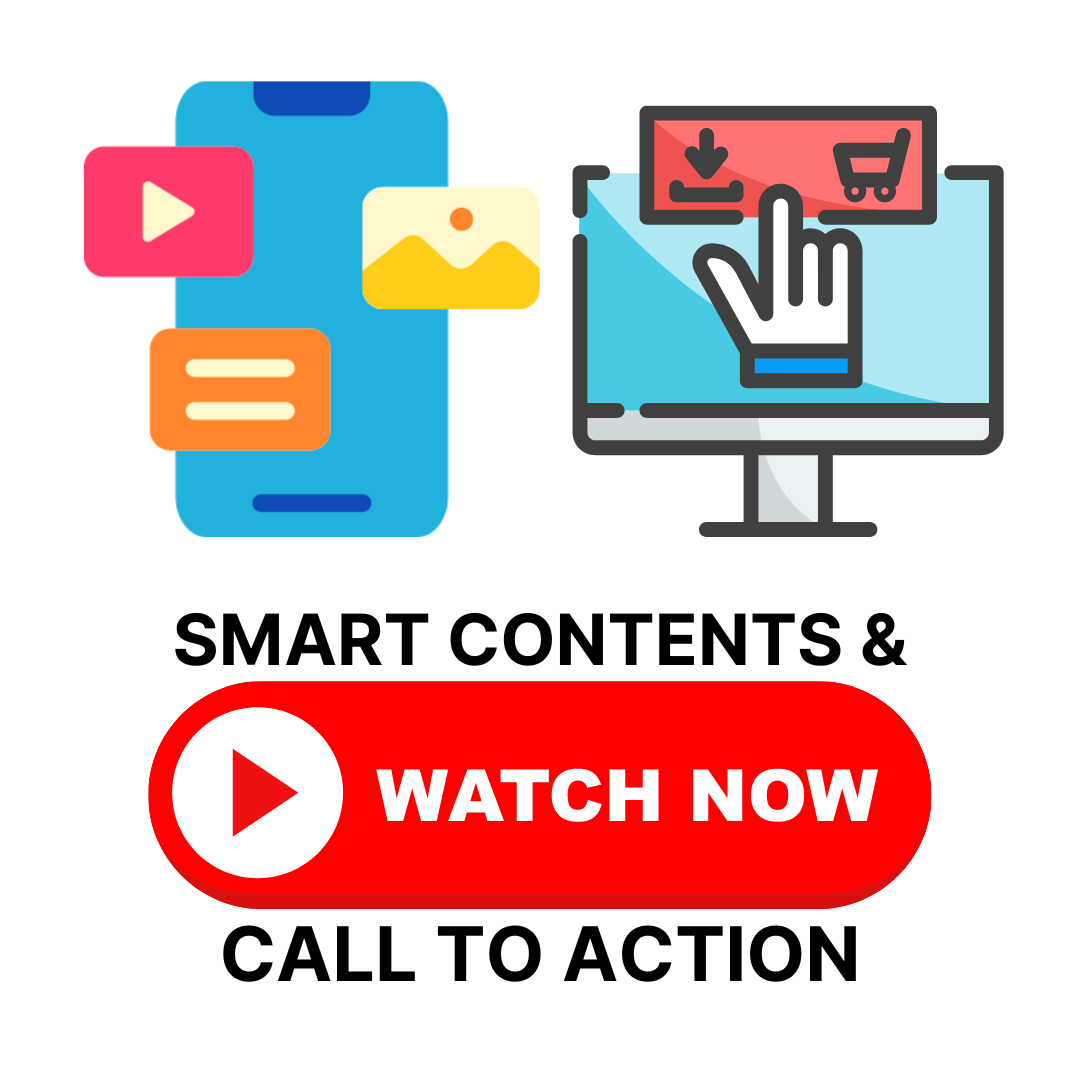
Add in personalization tokens and smart content.
The best email newsletters I receive feel like they were written specifically for me — as if a friend took the time to put together a newsletter with items that only I would be interested in. I open them, click on them, and send them to others. Almost every single time.
If you want your newsletters to feel more personalized, you should do the following three things: Segment your emails and select content that only that subset of people will enjoy.
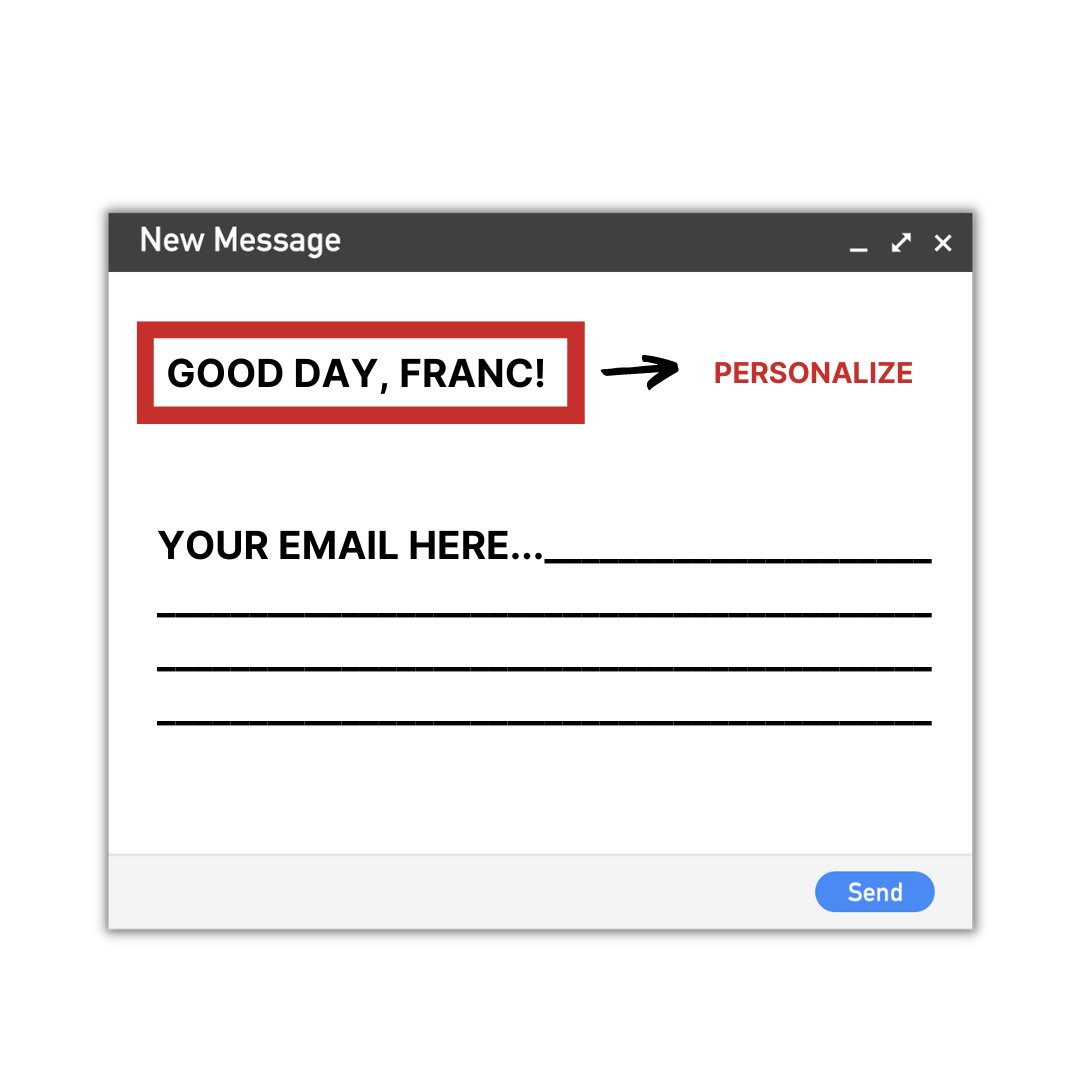
Personalization tokens should be included. If your marketing software supports personalization, this is a simple change that could have a big impact on your conversion rates. However, keep personalization to a minimum — you don’t want to creep out your email recipients. Personalization tokens can be added to Marketing Hub by clicking “Personalize” in the top navigation bar
Include smart content as well. This is content that demonstrates one thing to one segment of your audience and another to another. A smart CTA would be an example — your leads would see one for speaking with your sales reps, while your customers would see one for obtaining tickets to a customer-only event. Because neither audience wants to see the CTA of the other, smart content will only show the right CTA to the right person.
Choose your subject line and sender name.
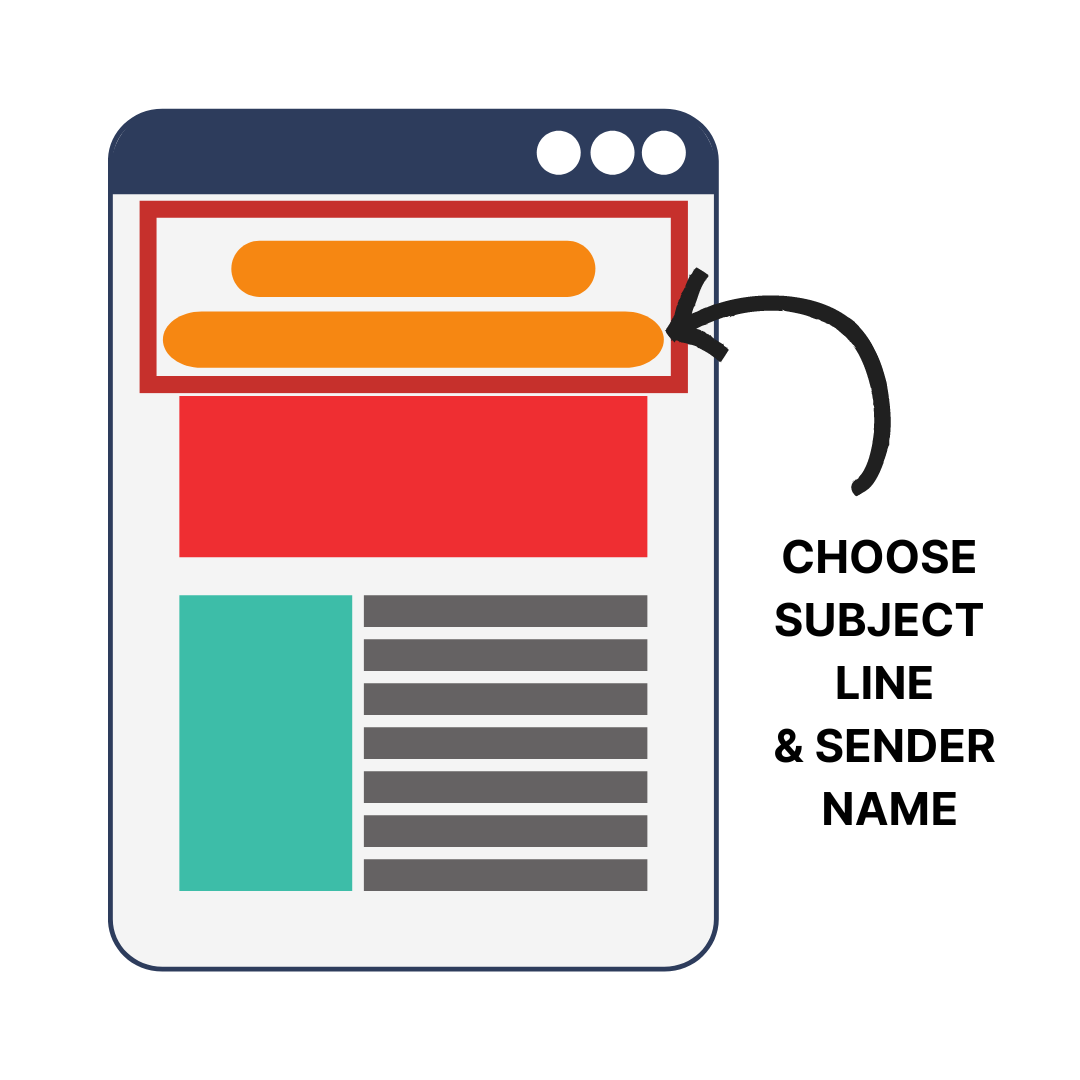
Your audience’s preferences may vary, but having a sender name from a real person increased opens and click-throughs. Try an A/B test to see if it also works for you. Whatever you decide, make it something recognizable so that recipients aren’t perplexed as to why they’re receiving your email.
Subject lines are a little more difficult. Brevity and an immediately actionable value proposition are two factors that can help you create a click-worthy subject line. That being said, some great marketing emails have been sent with the subject “Not Cool, Guys.” Use the best practices for subject lines as a starting point, then run your A/B tests to see what your audience prefers.
Use alt text and plain text to supplement your newsletter content.
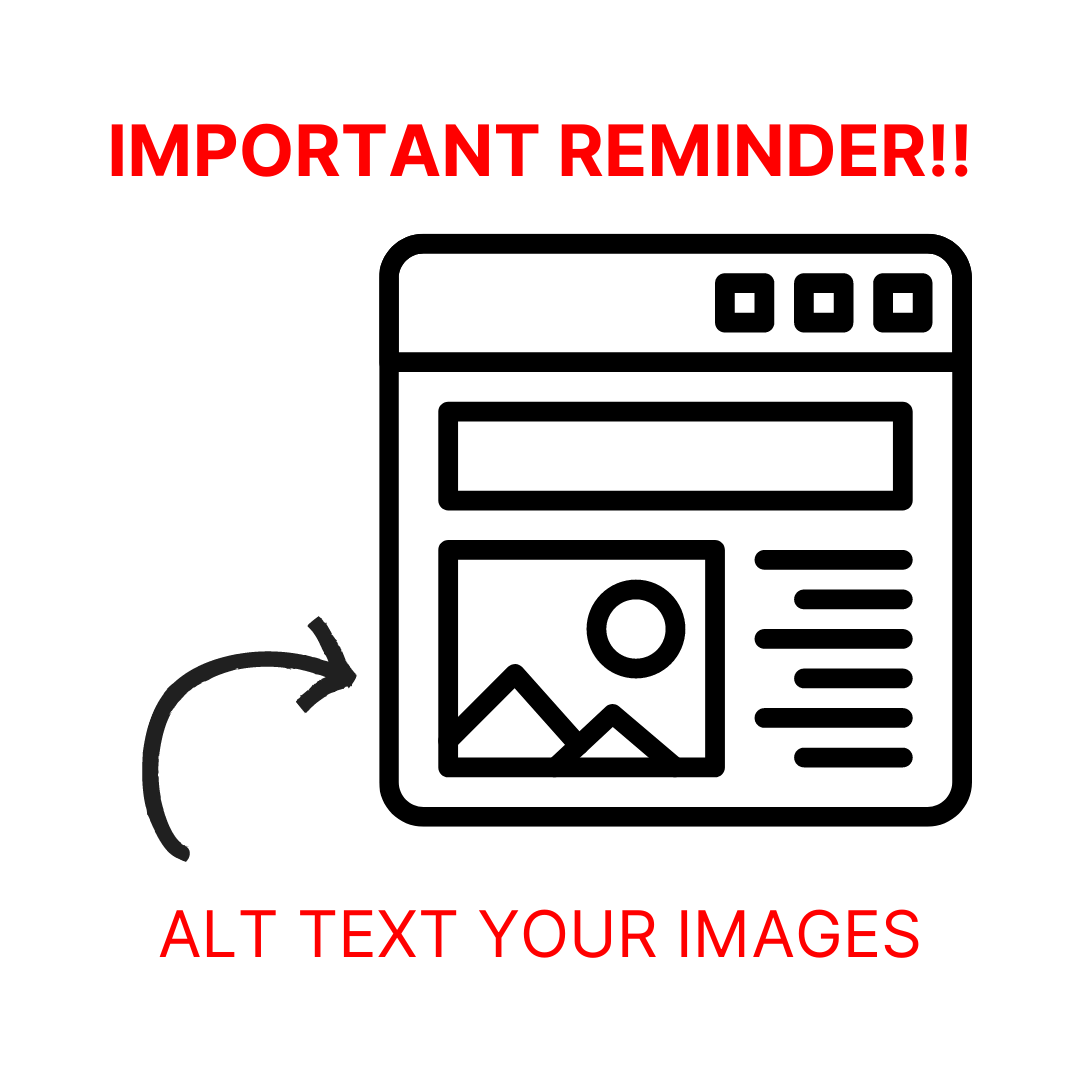
You should have the email almost ready to go at this point. I’m guessing you forgot two crucial things while going through the steps above (I know I do almost every time I make an email): the alt text and plain text. When a picture isn’t loaded, alt text is displayed. Because not all email providers properly load images, you must include alt text so your recipients know what they’re looking at. If you include an image as a CTA, your conversion rates will suffer without alt text.
Some email clients will also not properly display HTML, so make sure your emails look great in plain text. Make sure the links are easy to click and that the email’s subject line is clear without the photos.
Make certain that you are legally compliant.
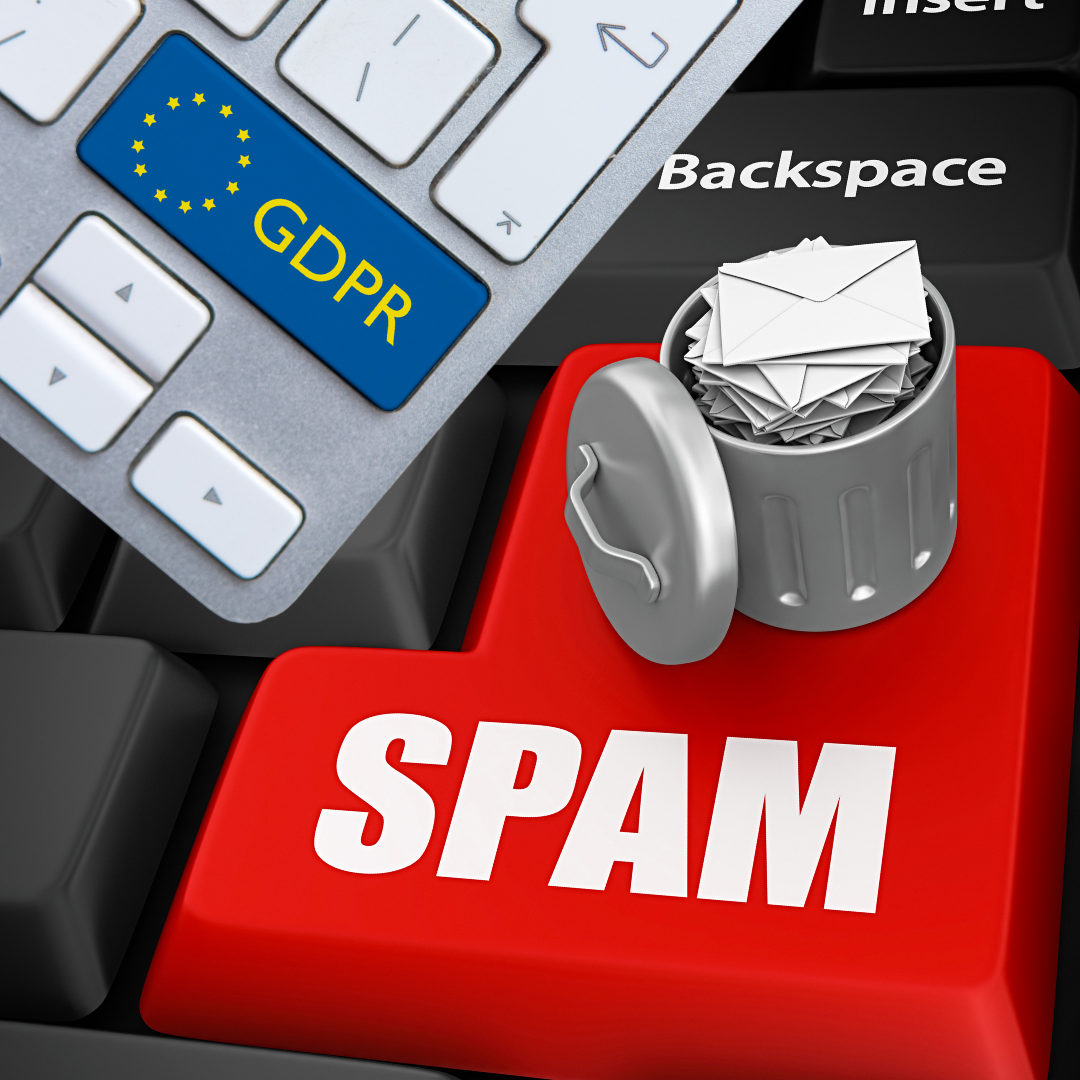
Before you hit “Send,” double-check that all of your emails are legal. What are the two most important laws to consider? GDPR and CAN-SPAM.
- CAN-SPAM requires a footer in your email with your address and an easy way for recipients to unsubscribe from your emails if they no longer want to receive them.
- GDPR is a similar but more comprehensive privacy law that requires email marketers, among other things, to send newsletters only to people who have opted in to receive them. In other words, if you collect email subscribers on your website, you cannot automatically check the “opt-in” box for them if they live in Europe. They must check this box of their own volition.
Try out various browsers and email providers.
Email providers do not all read email code in the same way; what looks fine in Chrome on Gmail may look terrible in Outlook. As a result, you must test emails in the most popular email clients and browsers.
If you have HubSpot, you can use the tool to test emails for different providers. If you don’t, create fake email accounts on the websites of various providers and manually test everything.
Send your email.
It’s crunch time! After ensuring that all of your email recipients have subscribed to receive this email and that your email has all of the branding and legal compliance it deserves, it’s time to click send. Then, just sit back and wait for the data to come in.
Analyze and iterate
After a few days, the data is in. How was your newsletter received? What are your next steps? Examine how your email newsletter performed with the objectives you set in step one. Examine which parts of your email received the most clicks and which parts of your newsletter contributed the most to your goal. All of this will be relatively simple to measure if you have closed-loop analytics.
Once you have that information, you can plan your next email newsletter send. Whether your next newsletter is in a day, a week, a month, or a quarter, you’ll have insights to make it even better.


